
Getting Started with Aravis in Linux
Overview
This application note provides information on how to install and use Teledyne FLIR machine vision GigE Vision and USB3 Vision cameras with Aravis software. Aravis is a glib/gobject based (open source) library for video acquisition using GenICam cameras.
For this application note we tested Ubuntu 24.04, Python 3.12, and Aravis 0.8.35.
The steps to install and use Aravis are:
- Install Python and Pip on your Linux computer.
- Install Aravis.
- Connect the camera to the computer.
- Configure camera access for Aravis (USB3 only).
- Start Aravis Viewer.
More details provided below.
Preparing for Use
Before you use your camera, we recommend that you are aware of the following resources:
Getting Started Manual for the camera—provides information on installing components and software needed to run the camera. The Getting Started manual can be downloaded from the Resources area on the model's product page.
Technical Reference for the camera—provides information on the camera’s specifications, features and operations, as well as imaging and acquisition controls. The technical references can be downloaded from the Resources area on the model's product page.
Firmware updates—ensure you are using the most up-to-date firmware for the camera to take advantage of improvements and fixes. The latest firmware can be downloaded from the Resources area on the model's product page.
Installation and Configuration
Step 1 — Install Python and Pip on your Linux computer
Modern Debian-based systems such as Ubuntu enforce PEP 668, which prevents installing packages into the system-wide Python environment to protect system stability. Using a virtual environment is recommended.
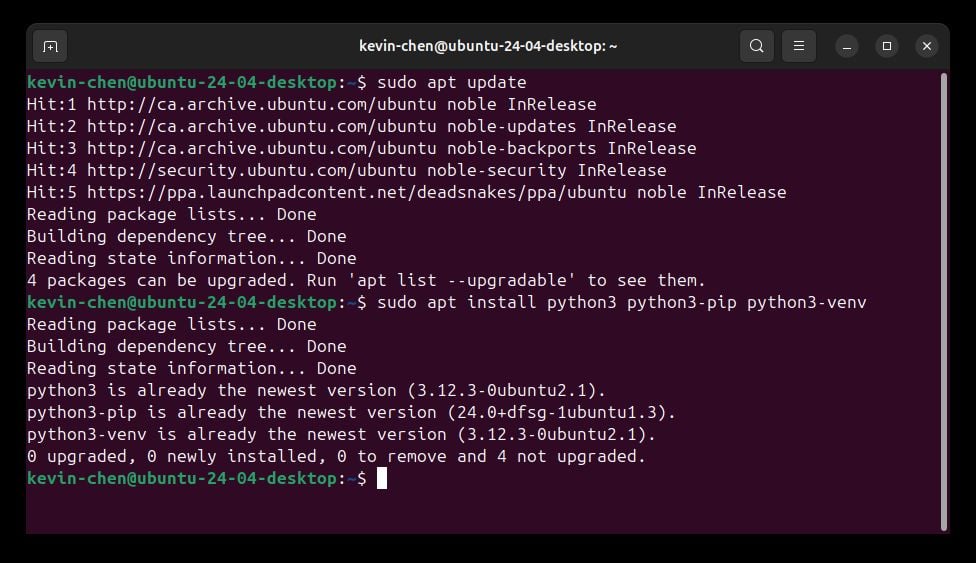
1. To do this, install the Python and venv module:
$ sudo apt update

$ sudo apt install python3 python3-pip python3-venv
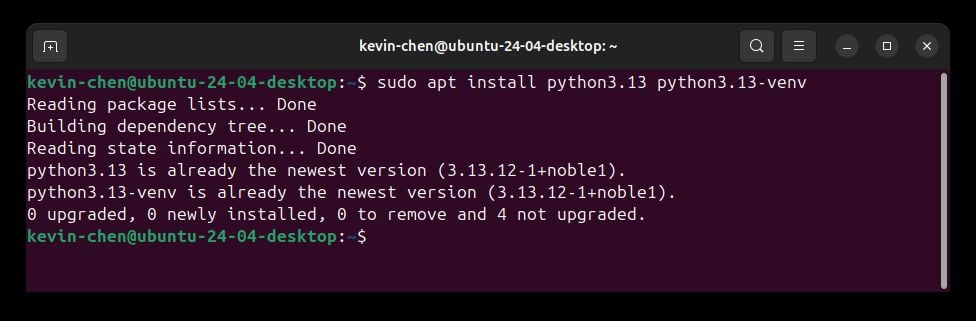
2. For a specific Python version (e.g., Python 3.13):
$ sudo apt install python3.13 python3.13-venv
3. Create and activate a virtual environment for your Aravis project:
$ <python version> -m venv ~/venv/aravis

$ source ~/venv/aravis/bin/activate
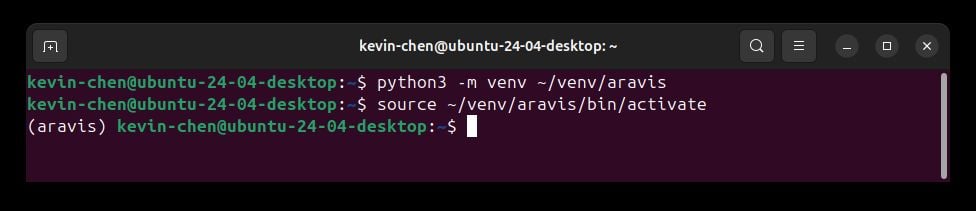
After activation, your prompt shows an ‘(aravis)’ prefix.
To use Aravis in the future, remember to activate this environment first:
$ source ~/venv/aravis/bin/activate
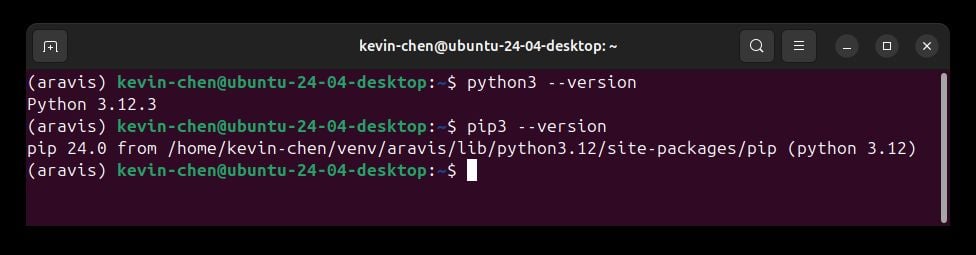
To verify if Python and Pip are installed on your Linux computer use:
$ application_name --version
Step 2 — Install Aravis
1. Download the latest release of Aravis from https://github.com/AravisProject/aravis/releases and unzip the tar file.
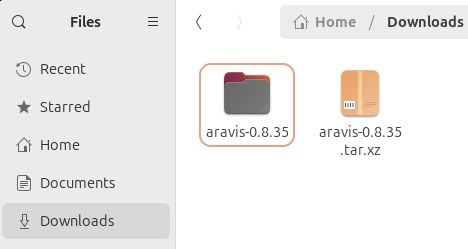
2. Open a new terminal window and navigate to the unzipped tar file directory.
3. Aravis’s dependencies can be installed using the following:
$ sudo apt install libxml2-dev libglib2.0-dev cmake libusb-1.0-0-dev gobject-introspection \
libgtk-3-dev gtk-doc-tools  xsltproc libgstreamer1.0-dev \
libgstreamer-plugins-base1.0-dev libgstreamer-plugins-good1.0-dev \
libgirepository1.0-dev gettext
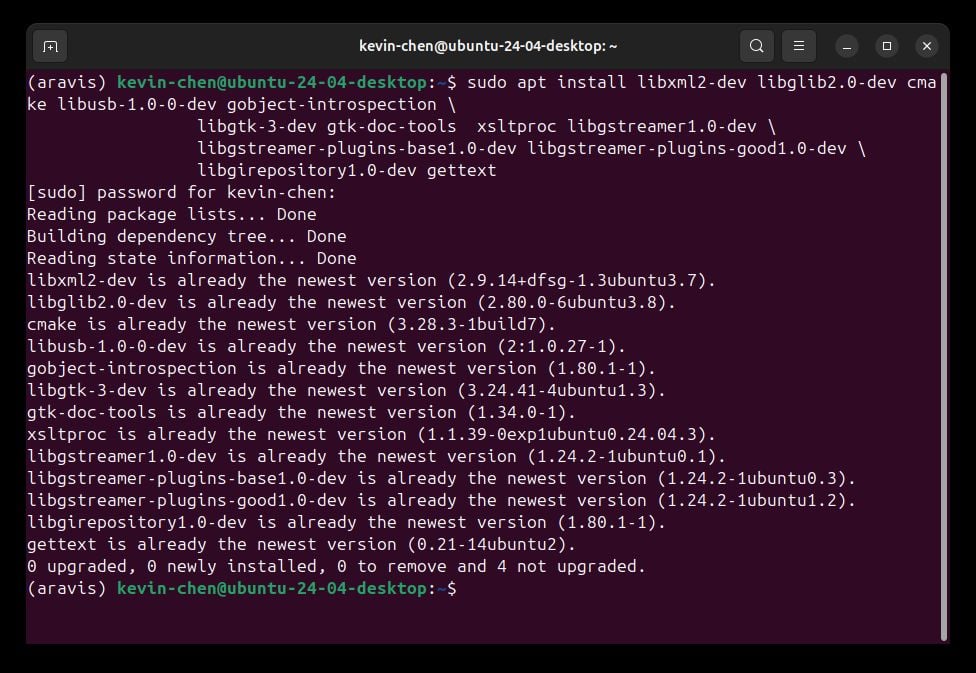
4. For color vision cameras, you need to install additional plugins for “gstreamer”:
$ sudo apt-get install gstreamer1.0-plugins-bad
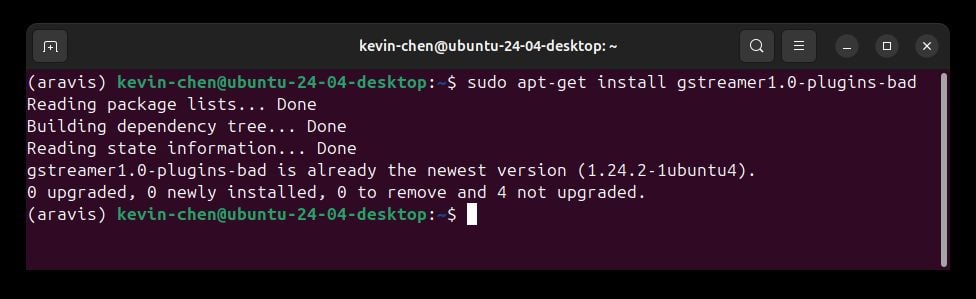
5. Install “GI-DocGen”:
$pip3 install gi-docgen
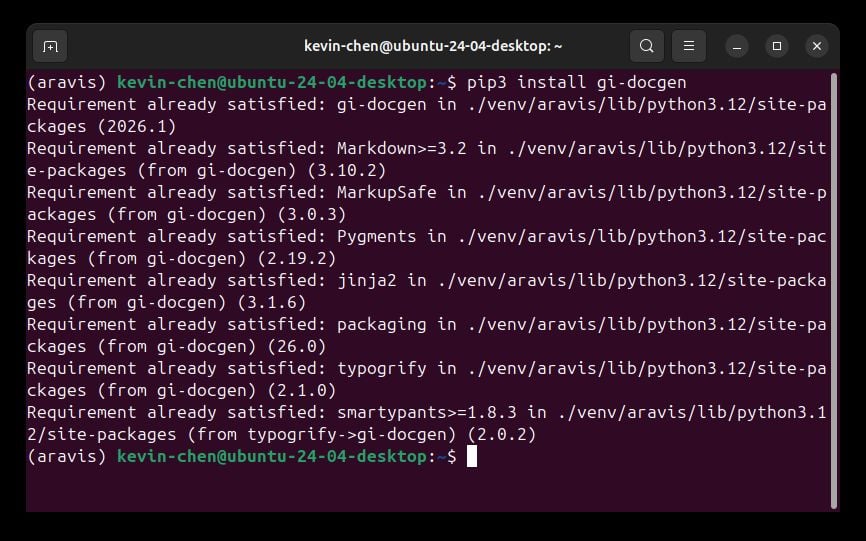
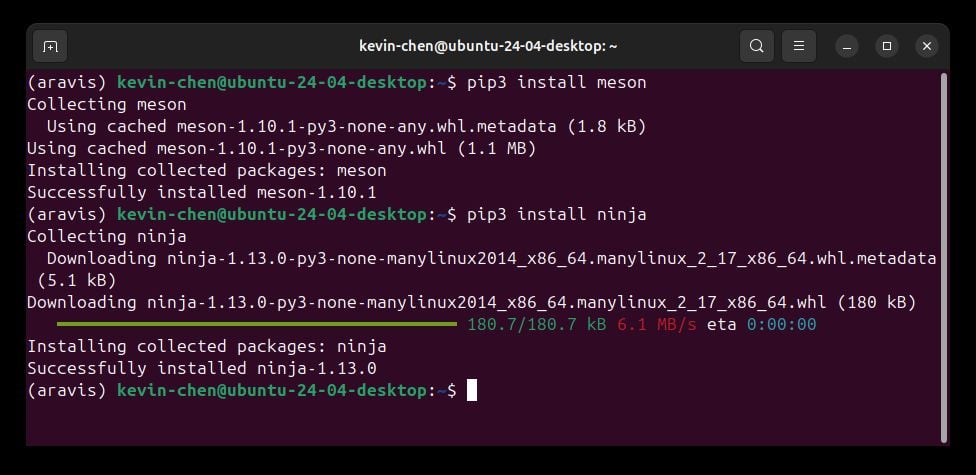
6. Install Meson and Ninja to build Aravis:
$ pip3 install meson
$ pip3 install ninja
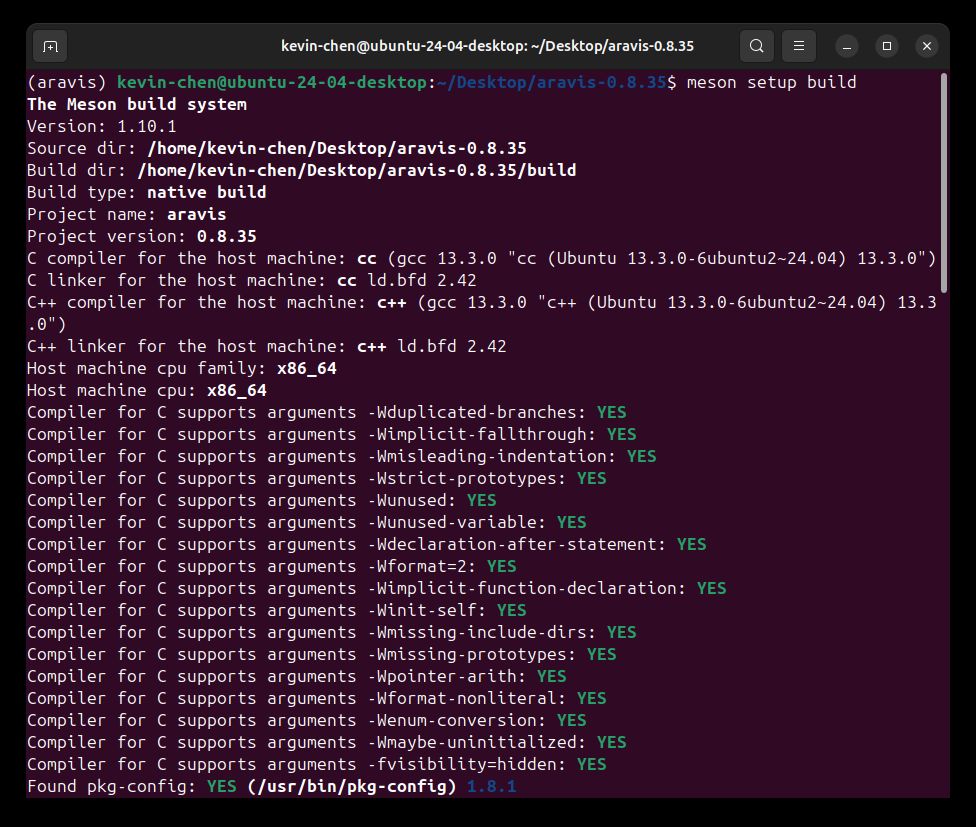
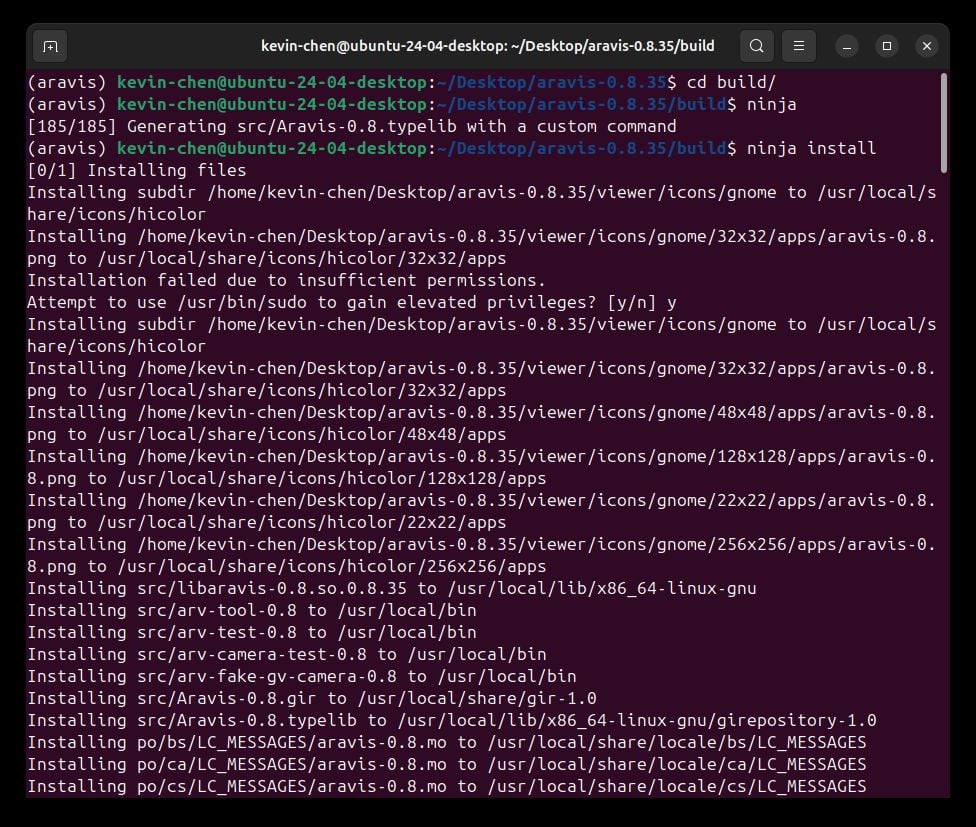
7. Aravis uses the meson build system (http://mesonbuild.com/). After you have installed Meson and Ninja, you can build and install Aravis like any other meson project:
$ meson setup build
$ cd build
$ ninja
$ ninja install
The build can be configured at any time using ‘meson configure’ in the build directory. ‘meson configure’ invoked without any other argument shows the configuration options.
On Ubuntu, you may have to configure the dynamic linker (ld) to let it know where the aravis libraries are installed and run ldconfig as root to update ld cache.
$ sudo ldconfig
Step 3 — Connect the Camera to the PC
Connect the camera to the PC. For more information, see the Getting Started Manual.
Step 4 — Configure Camera Access for Aravis (USB3 Vision only)
 |
For GigE Vision cameras, go to Step 5 Start Aravis Viewer below. |
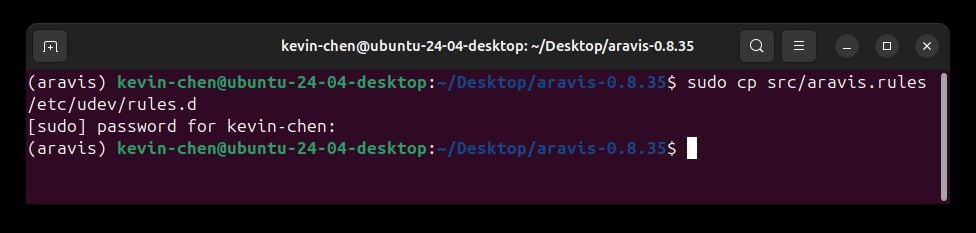
1. Copy the “aravis.rules” file to the Linux device manager “udev: etc/udev/rules.d”
$ sudo cp ~/Path/to/your/Aravis/src/aravis.rules /etc/udev/rules.d
2. Reboot the computer to complete the installation.
Step 5 — Start Aravis Viewer
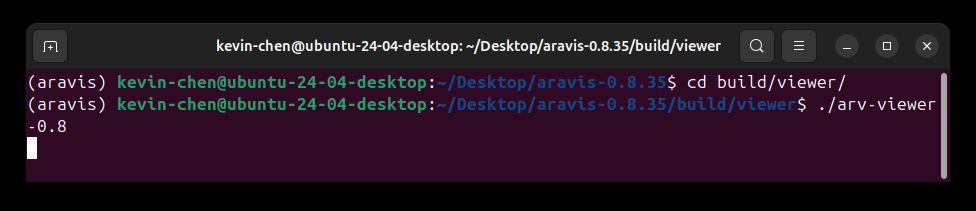
1. Navigate to your Linux terminal, go to the ‘viewer’ folder under ‘build’, and start the aravis viewer:
~/Path/to/your/Aravis/build/viewer$ ./arv-viewer-X.X
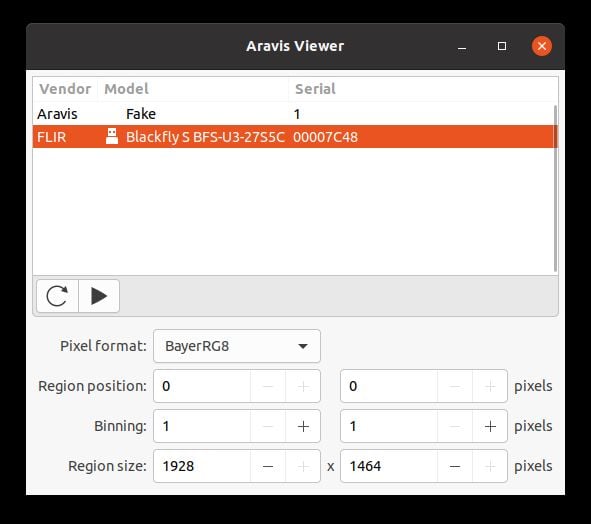
2. From the camera selection screen, select your FLIR camera to start streaming.
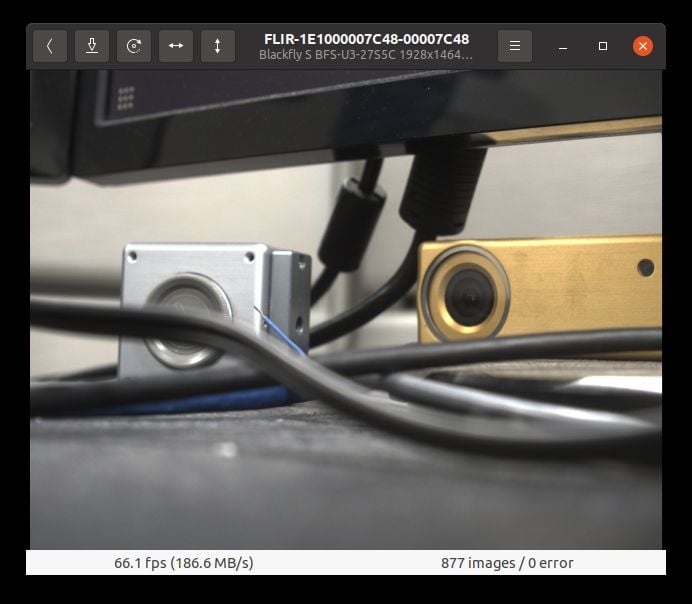
If you experience dropped frames, please see the Troubleshooting section, below.
Troubleshooting Tips
What if my GigE Vision camera is not detected in Aravis?
If your GigE Vision camera is not detected in Aravis, check the following:
- The camera is powered up (steady green LED). For more information on the LED status indictor, see your camera’s technical reference manual section “Status Indicator LED.”
- The network adapter is set correctly. DHCP mode requires the DHCP server to be running. Point Grey recommends manually configuring your network adapter’s IPV4 address to 169.254.0.1 with 255.255.0.0 subnet mask.
What if I experience dropped frames with my GigE Vision camera?
If you experience dropped frames in Linux, it could mean your receive buffer is too small. We suggest increasing your standard and maximum receive buffer values. For more information on how to set the receive buffer size in Linux, please see Lost Ethernet data packets on Linux systems using FlyCapture2.
What if my USB3 Vision camera is not displaying images in Aravis Viewer?
If you do not see any frames with a USB3 Vision camera in Linux, it could mean your USBFS memory size is too small. By default, Linux limits the image capture size to 2 MB. To capture images larger than 2 MB, see Using Linux with USB 3.1.